2023 Philadelphia Museum of Art Contemporary Craft Show

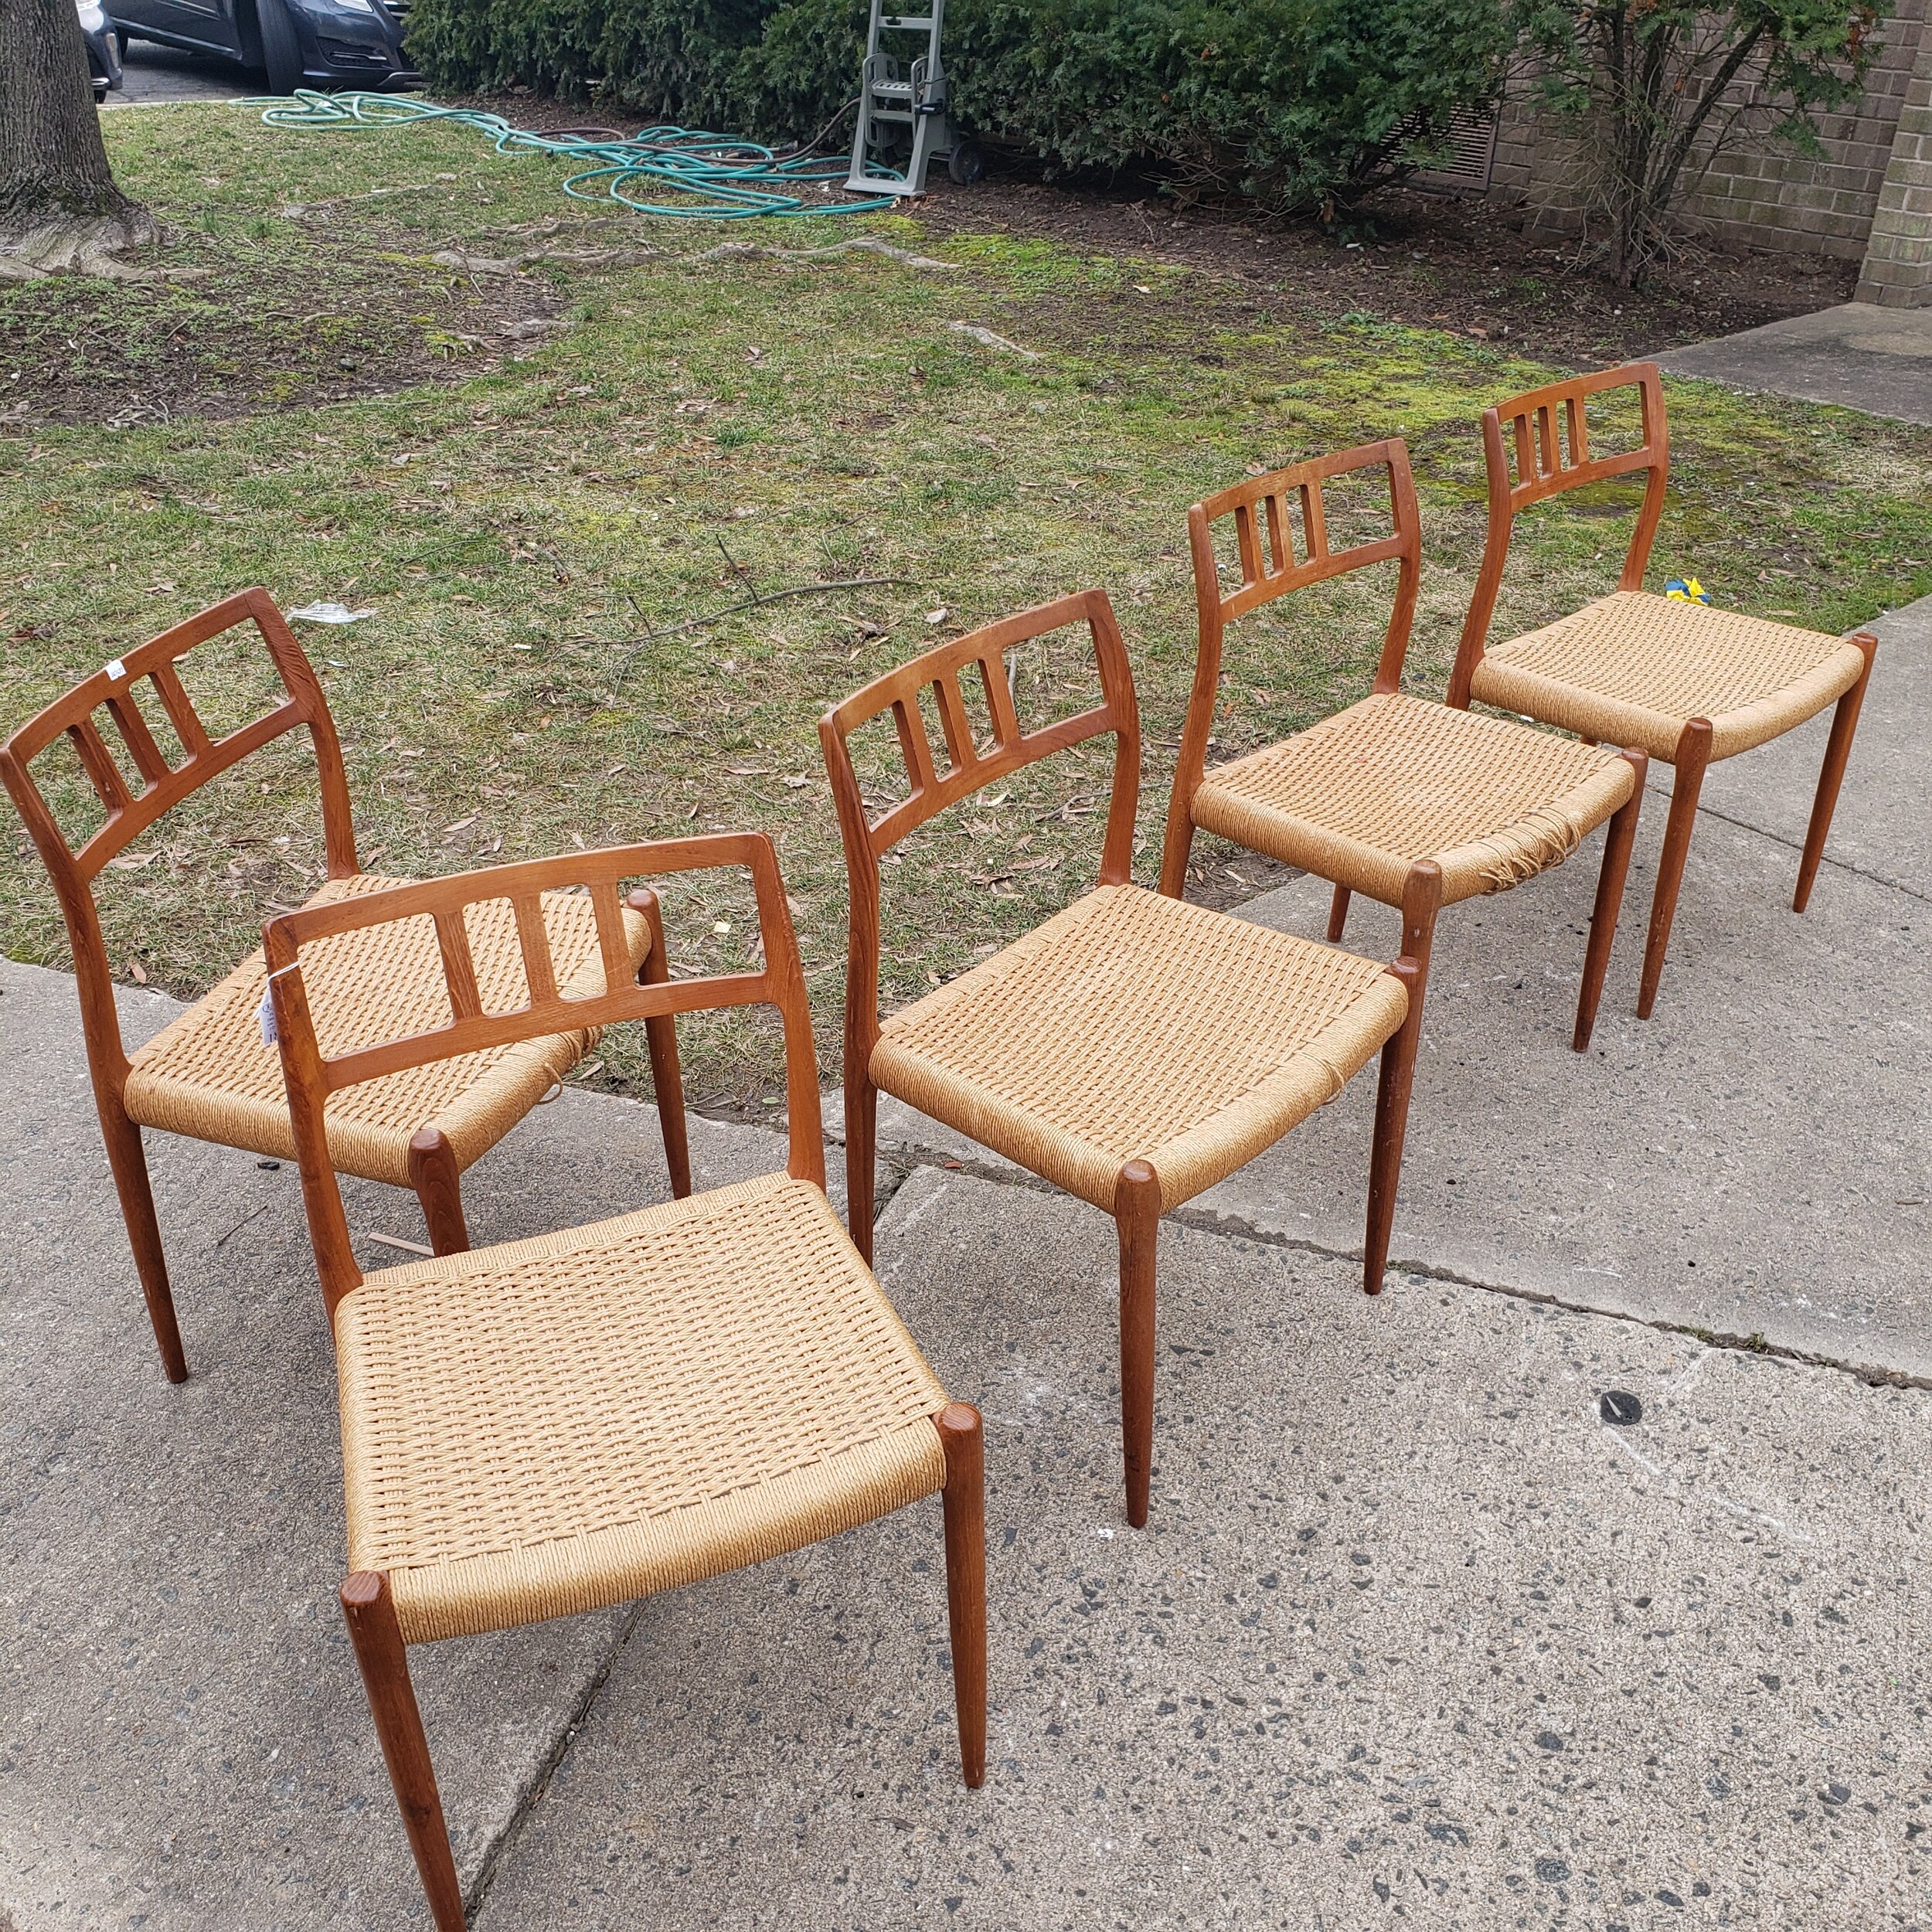
It has been a while (to say the least) since I have written a blog post here and this is my attempt at starting again. I plan to do more restoration videos and have a few in the queue but first I wanted to write a brief post about my recent experience at the 2023 PMA Craft show. This show has always been a goal of mine, I have admired it and the craftspeople who show their wonderful work here every year. This year I finally gained enough confidence to apply and was pleasantly surprised when I was accepted in the emerging artists category. It was very exciting to get the news then at the same time, nerve wracking because now I had to build a booth and find time to build some new work.

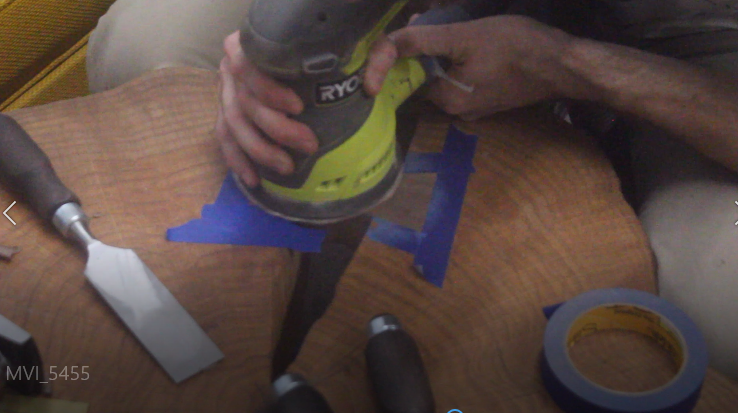
I decided I had to build a booth with hard walls rather than the traditional pipe and drape booth that a lot of artists use. I made this decision so that I can showcase a few items that hang on the wall. The first was the walnut and cane hanging shoe cabinet that uses a French cleat to hang on the wall. Once I decided I’d have hard walls, I though it would be best to create a vignette that felt like a room. So I had a couple pieces that were my take on the traditional shaker rail using different woods like walnut and Sapele and giving them a pop of color with painted pegs. I’m really pleased how the booth looked. A few other pieces I had already completed included a Danish cord and walnut entry way bench, a cherry step stool, a walnut and cherry coat rack with a shelf and a wall sconce I had done last year (2022). With these pieced in mind I also wanted to do a credenza and a chair, and if I had time, a floor lamp to round out the room vibe vignette.

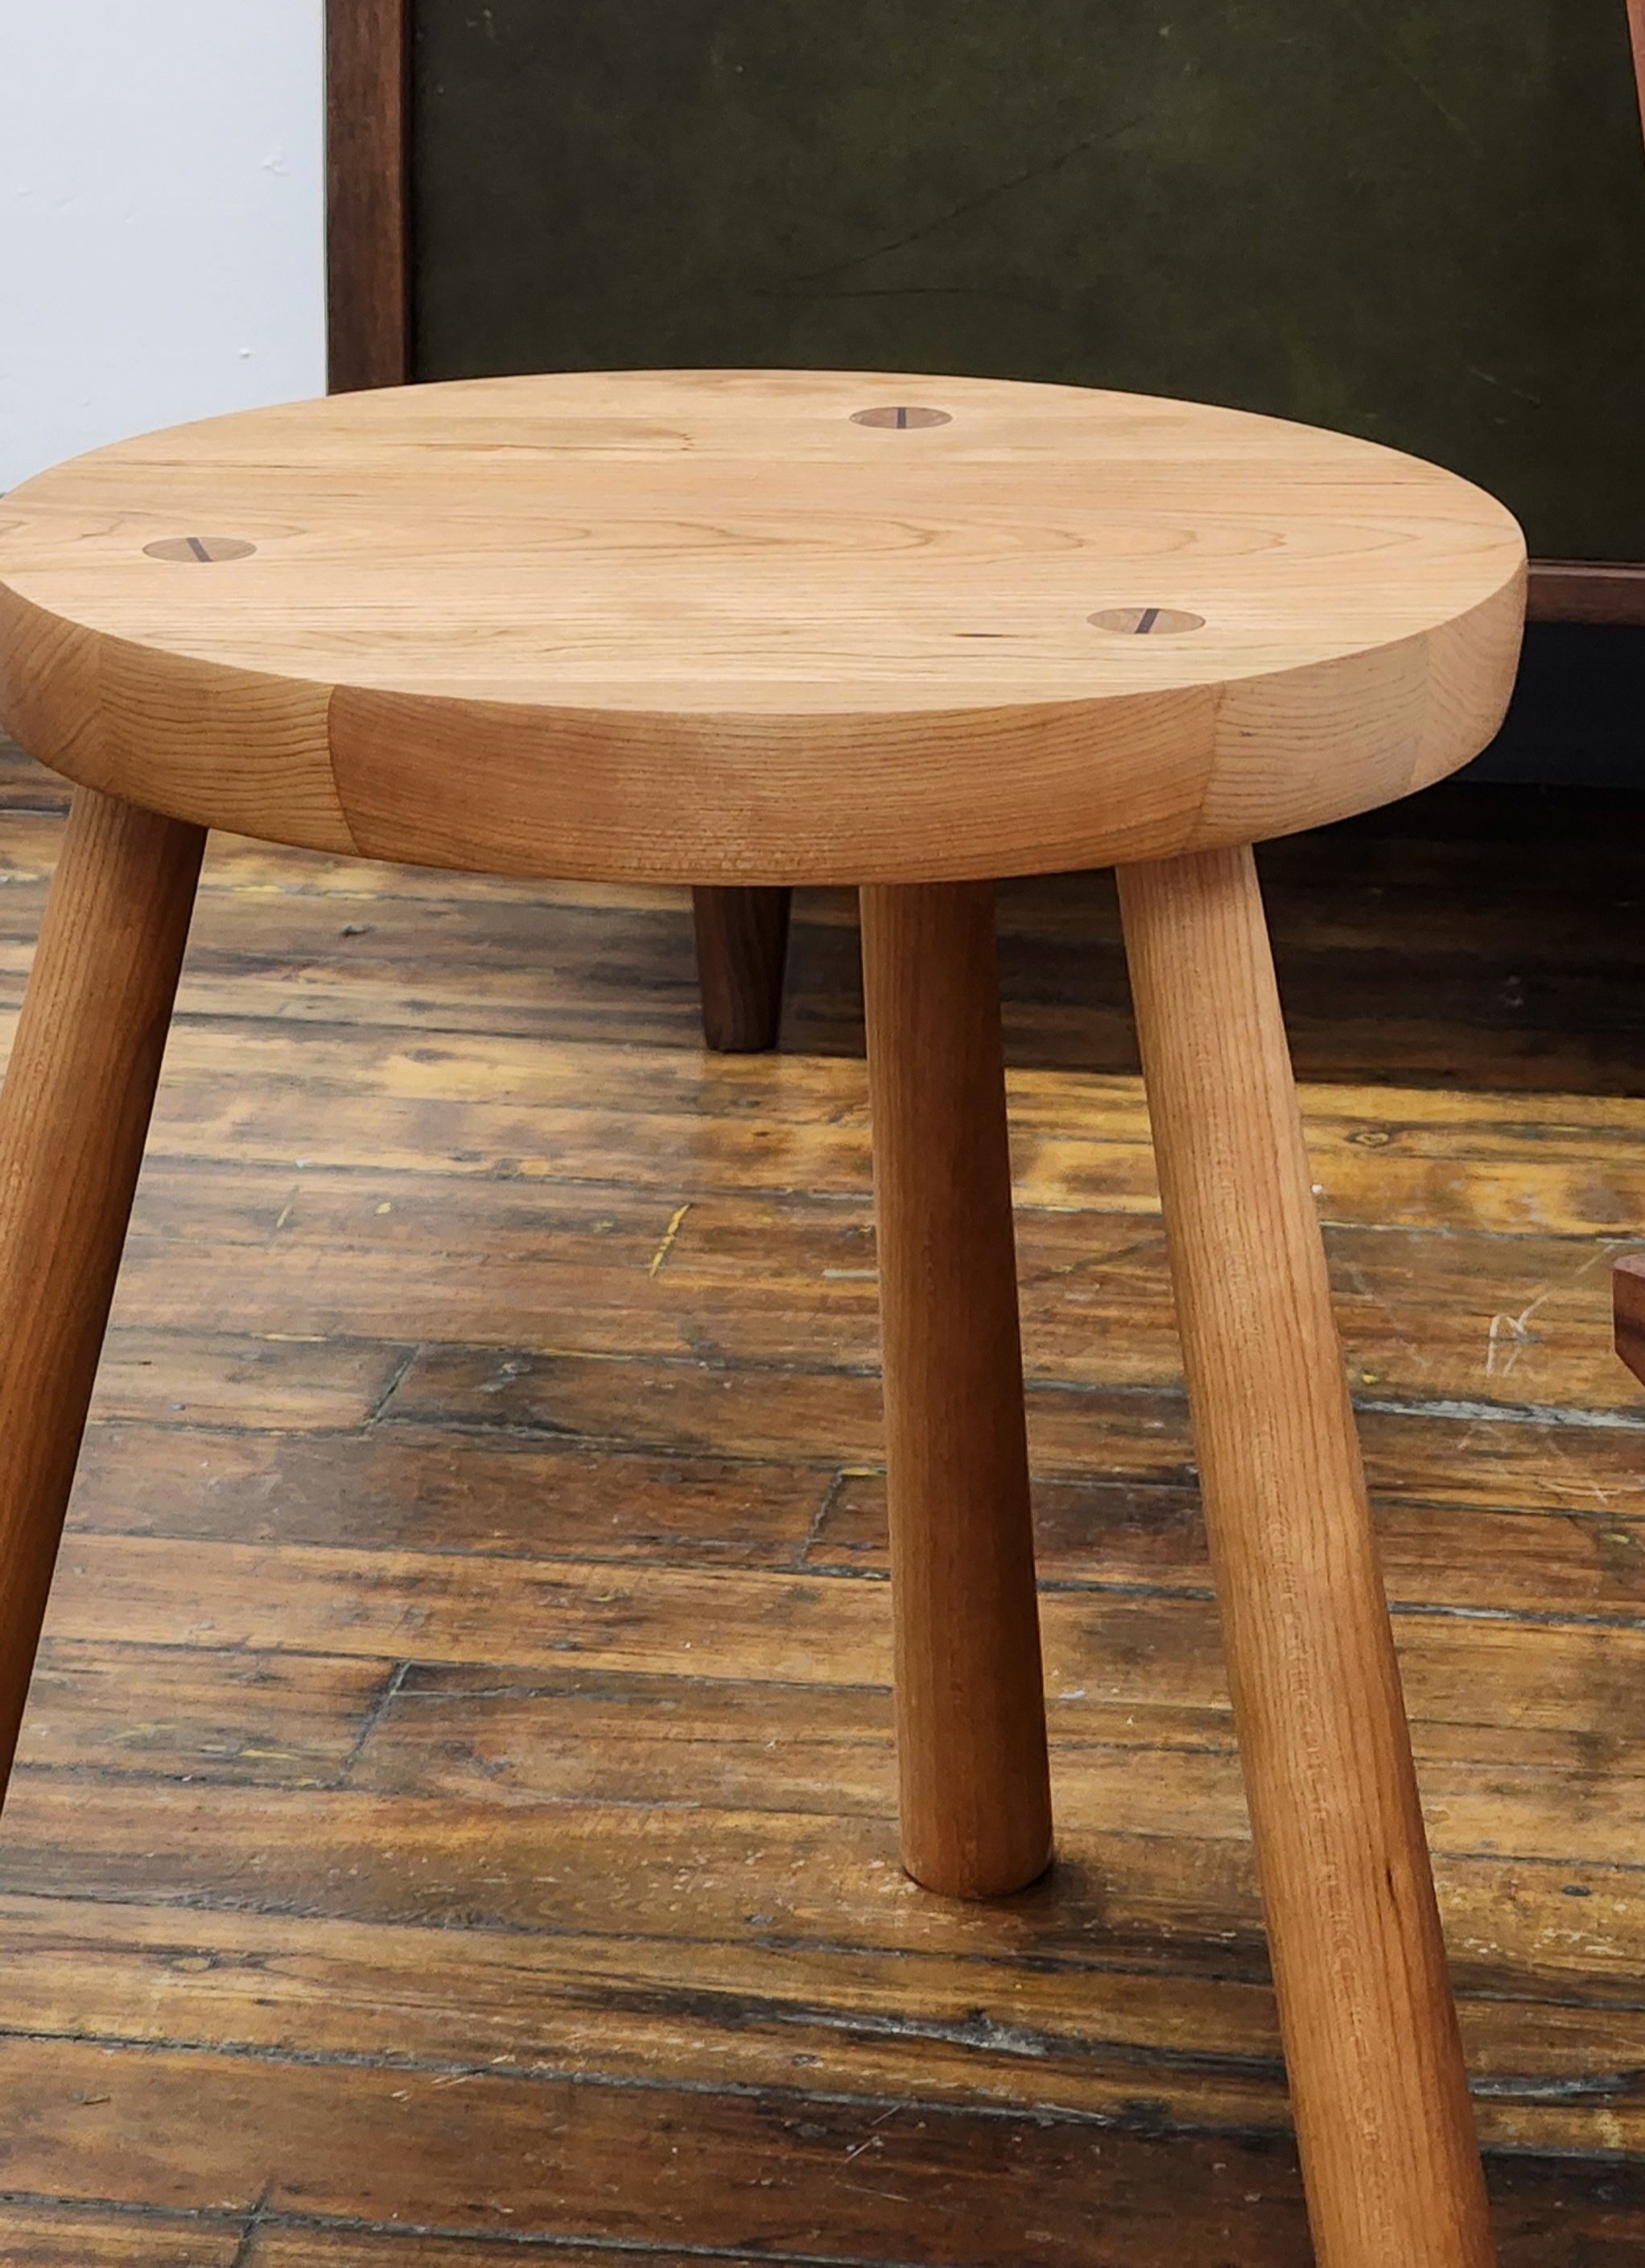
The first new piece I did was a simple three legged stool to get the creative jucies flowing. I have made this stool several times before in different wood types and choose cherry for this iteration. I really love how cherry darkens over time and this simple stool is very versatile. it can be a stool, side table or even a plant stand.

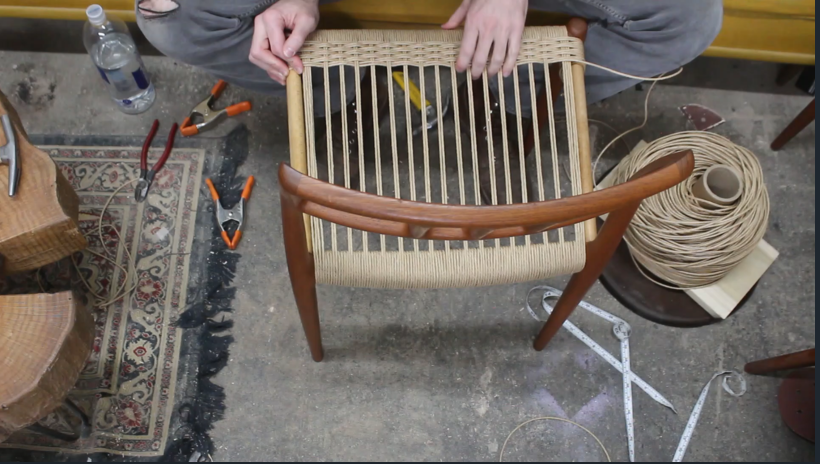
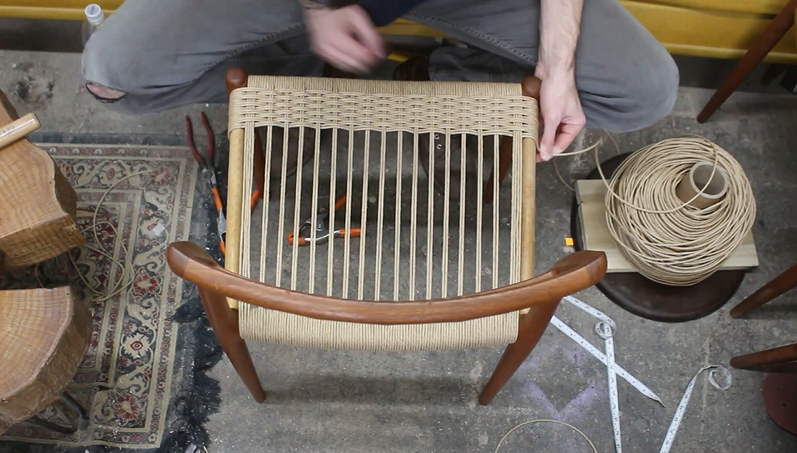
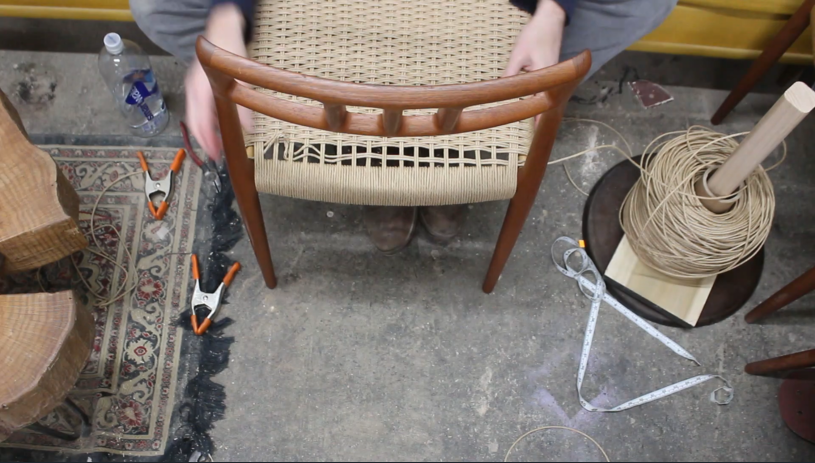
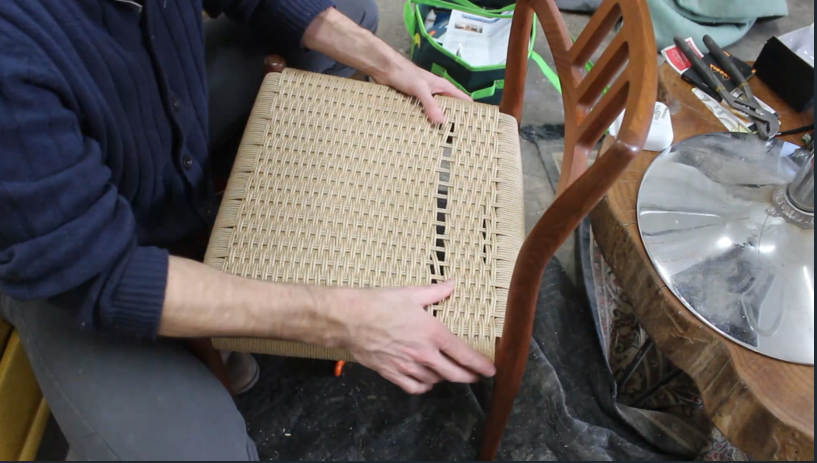
While I was doing the stool, in between glue drying and finish coats, I was planning a chair. I designed a simple lounge chair, or slipper chair as I like to call this one. Its a low lounge chair made from Sapele and features a cane back and an upholstered seat cushion. I then decided to add a low lumbar cushion to the back rest to provide additional comfort while not hiding the cane work that I really like. If you look closely at the chair there are a few design details that I am really happy with. I really like the lines and the seat angle. The joinery is all wedged tenons and the cane really makes the chair stand out.


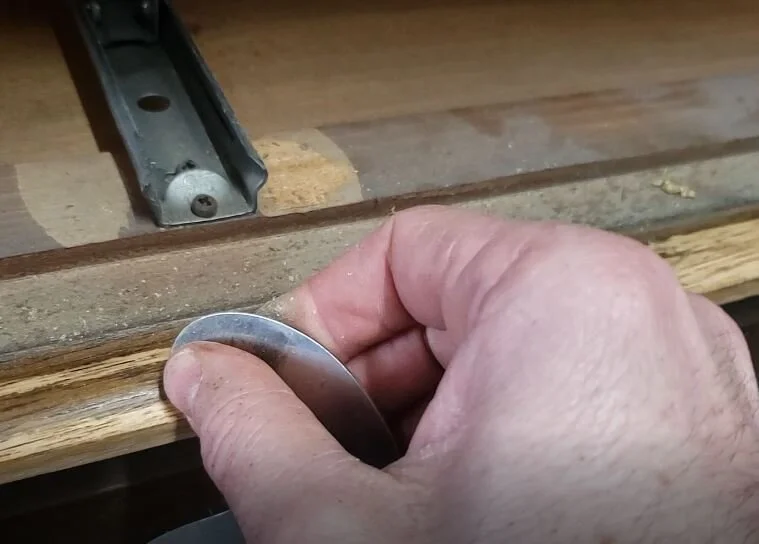
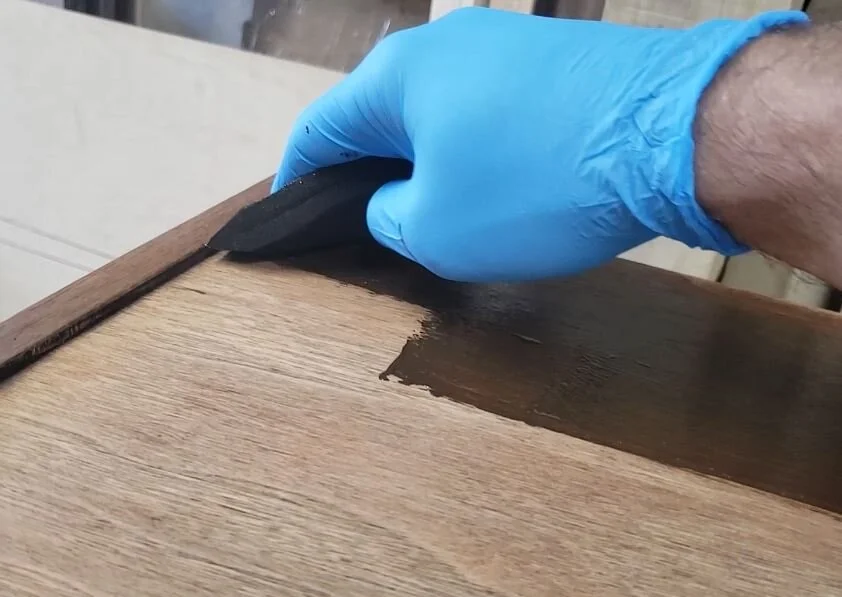
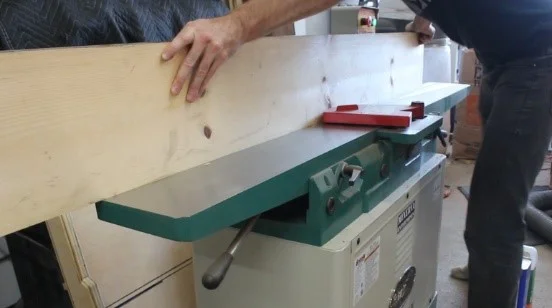
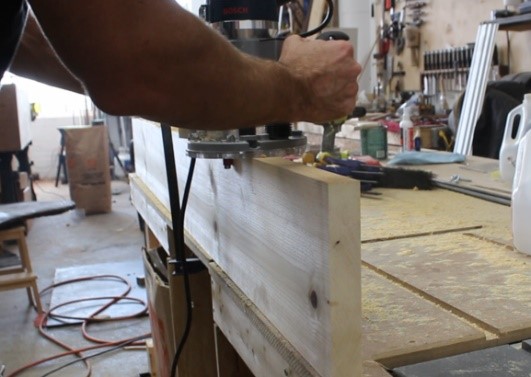
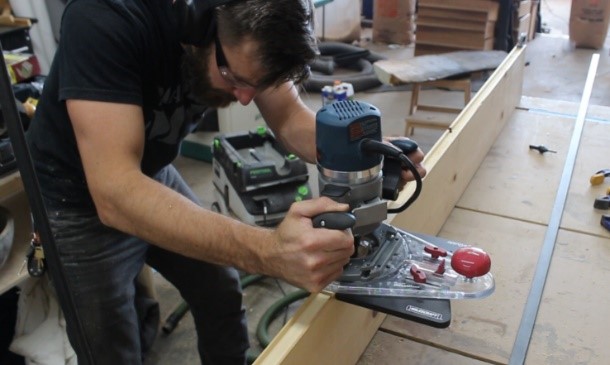
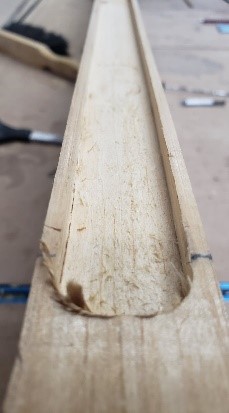
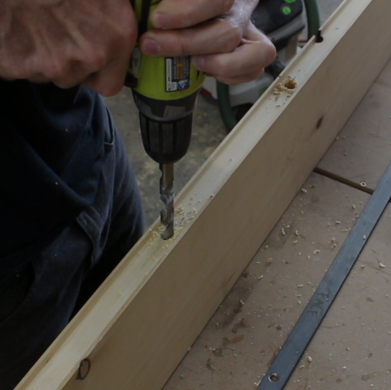
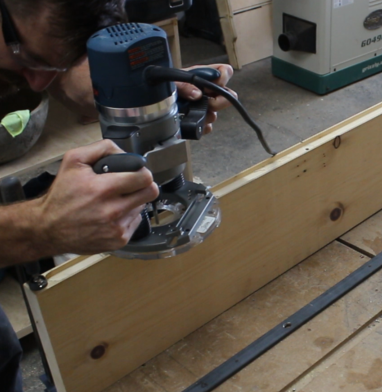
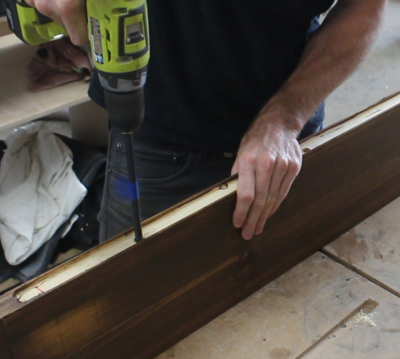
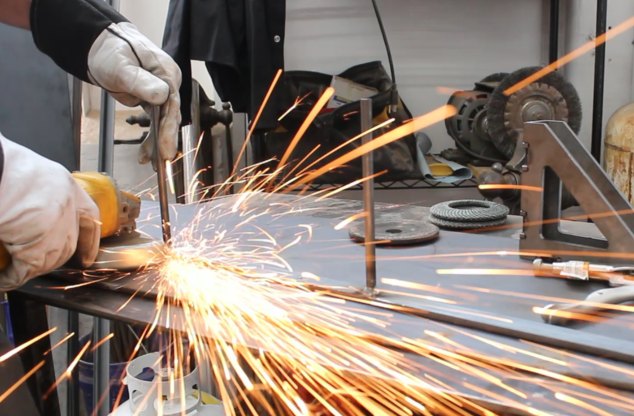
I knew I wanted to make a case piece and I wanted to do dovetails. Other than that I didn’t really have a design in mind. I ended up doing solid Walnut. the Top and sides of this piece were all one single board. I sourced it from Hearne Hardwoods in Oxford, PA. It took me a few practice tries on the dovetails to get them dialed in and then I committed and did them on the walnut. Once I had the case assembled I was deciding how to do the doors, I thought about a tambour door but ended up going with leather front sliding doors. I haven’t worked with leather in this way before but have been thinking about integrating in for a while. I had this amazing green leather hide for a few years and decided it would look great with the walnut. I think the leather is going to patina amazingly with lots of use. after doing the doors, next were the legs and pulls. I headed to the lathe and payed with a few profiles and ended up with what you see in the photos

Once I finished the credenza, just in time, I had about a day left to recover and decided that I had enough time to make a lamp. I had some Ash Lumber and with the help of my buddy Ben at Ovuud, an expert at lighting design and building. He helped me with some spare parts he and and some extra ash lumber. the lamps construction was pretty straightforward, I had thought bout the build process overnight and hit the ground running when I got to the studio on Monday morning before the show. I was able to do everything in a day(long day) I’m super happy how this reading lamp turned out and I think it was the icing on the cake for my booth.

Now that I had all my pieces done all that was left was packing the van and the booth set up. It took me about half the day on the Tuesday before the show to pack the van. Wednesday morning I had a 930 entry time and was there right on time. I was able to drive the van onto the show floor and get set up. It took me about until 2 or 3 to get all set up. I met quite a few other vendors and everyone was really nice and helpful..

Thursday afternoon / night was the judging for the prizes and then the preview party. This was a great experience, although I didn’t get a chance to see the judges or talk to them but knew that they had a chance to take a look at all the artists. Al the winners were announced at the start of the preview party and then everyone in attendance got a first look at all the wonderful art. I had a chance to meet a few people I knew and some previous clients which was an unexpected surprise. The next 3 days was the actual show that was open to the public. I had a great time talking to all the people that showed up and was able to network with a lot of potential clients and I also had a chance to talk with a bunch of the great artists. The Women’s Committee of the Philadelphia Museum of Art did a great job with the show, from the very start with communication and all the Q&As to the set up and tear down. I had a wonderful experience and I hope over the next few months I will start to see a few commissions from the show. I do plan to apply for the 2024 show as well and you will have to stay tuned over the next year to see any new work I design and make, maybe you will get a chance to see them at the show next year.

Refinish a Broyhill Brasilia Hutch Top

This Broyhill Brasilia Hutch Gets An Update With Some New finish And Some Classic Mid Century Modern Tapered Dowel Legs to Turn This From An Old Outdated Hutch Into An Awesome Display Case or Book Case.

This Broyhill Brasilia Hutch Gets An Update With Some New finish And Some Classic Mid Century Modern Tapered Dowel Legs to Turn This From An Old Outdated Hut...

Products used in this restoration:

Mohawk Epoxy Putty Sticks: https://amzn.to/2KxSTfL

Mohawk Pro-Mark Grain Marker: https://amzn.to/2KoUCnT

Mohawk Pro-Mark Grain Marker Kit: https://amzn.to/3551oIP

Mohawk Grain Brushes: https://amzn.to/2x0IaHG

Mohawk Finishers Choice Lacquer Satin: https://amzn.to/2XZPXAO

Mohawk Medium Brown Toner: https://amzn.to/2S0j7f3

Music: Folk Bed - Audioautix Eagle Rock - Wes Hutchinson

Subscribe►► https://www.youtube.com/channel/UCmMc...

www.minervaenterprises.us

https://www.etsy.com/shop/MinervaEnte...

https://www.facebook.com/MinervaEnter...

Instagram @minerva_enterprises

How To Weave A Chair Seat Using Danish Cord

If you have a chair that has a paper cord seat there are several reasons that you might need to have it re-woven, broken paper cord being the biggest culprit, others could be stains that wont come out or even cats, they love to dig their claws into these seats sometimes.  Lucky for you, I’m going to show you how to re-seat one of these chairs yourself.  After watching the video, you still don’t think you are up to the task, there are people out there like me that will do this for you. One of these chairs, depending on your location, would cost around $300 to get a new Danish paper cord seat. 

Please keep in mind that this is how I learned to do it and that it is not the only way to weave Danish cord.

Materials:

  • Chair

  • Danish nails

  • Squeeze clamp

  • Tack hammer

  • Tacks (optional)

  • Unlaced Danish cord (if you want it to be authentic for Moller chairs) -can use laced Danish cord or even fiber rush

I have a set of teak J.L. Moller chairs that I acquired at an auction. They were in pretty good condition except for the woven seats had a few strands that were broken. While it is possible to repair a few strands, its difficult to match the patina of aged Danish cord.

i know there are 5, one has a damaged back rest that is currently beyond repair

i know there are 5, one has a damaged back rest that is currently beyond repair

With that said, I removed all the Danish cord from these chairs, first by cutting the old cord Once the cords were all cut, underneath, you need to loosen the nails by slightly bending the nails back to get the cord lose. Then you remove the old cord. What you are left with is the chair with all the nails left in place. If a nail breaks or falls out, you can replace them.

cut%2B2.jpg

For one chair, it takes about a 2-pound spool of unlaced Danish cord. You can get a 2-pound spool for about $30 from an online weaving supply store. Because I had several chairs to do, I used a 10-pound spool I got for $100 and made a spool holder with a lazy Susan to make the un-spooling easier.

With the chair facing me and the spool on my left, I start on the front left of the chair, you have to secure the end of the cord to the chair, you can do this one of two ways. 1, you can use upholstery tacks to secure the cord to the front chair rail or 2, which I did, you can weave the cord over and under the nails on the left side rail with the tail going to the rear of the chair, you only need to weave it about 4 or 5 nails back. This will secure the cord.

Over under weave.PNG

From here you start taking the cord on the inside of the first (left most) front nail and then by going under the front rail and back to the rear rail. This first set of strands will be a set of 4 (2 sets of 2)

4 cord start.PNG

In the rear of the chair, you will go over the rear rail from the front and up under to the left most nail from right to left then back over the rear rail (the way you came) to the front, hook on the nail from left to right and then back over the top to the back. Using the same nail in the back, right to left, hook the nail and go back to the front. When you get back to the front, hook on the nail and the next nail from left to right You will want to make sure the 4 strands are pushed all the way to the left You will be spanning two nails, your front to back strands will always be positioned over the nail.

20200328_132828.jpg

You will continue to do this the entire way across the chair, each nail will get 1 set of strands except for the first and last sets, once you get to the last nail on the right of the chair, you will do 2 sets of strands totaling 4 strands. It will be the same as the start. Once you bring the last strand back to the front and hook the nail from left to right, you can either tack the strand in place or weave over under on the side rail nails to secure it in place and cut the cord. You can turn the chair over and hammer down the nails with a tack hammer on the front and back rails(all except the middle nail)

Now that you have all the front back strands completed, you will wrap the front and back stretchers. Starting on the front stretcher, you want to measure out 50 ft of cord and cut it from the spool. Find the center and hook it on the center nail. For the back rail it will be 40 ft. Separate the 2 halves so they do not get tangled.

center nail hooked 50ft.PNG

If you took notice to the chair before you disassembled it, you will have noticed that the front rail normally has 5 wraps between the long strands. sometimes there are 6 or sometimes 4 but on the moller chairs its normally 5.

front wrap.PNG

I wrap to the left first. On the 5th wrap, on the back of the chair rail, you have to cross over the strands that are already nailed. Continue wrapping the front rail until you get to the end, you want to get as many wraps as possible, making sure the front to back strands remain over the nails. When you get to the end you need to tack the cord in place(or you can over under weave it on the nails on the side rails.

back wrap 40 ft.PNG

Once you have the front and back wrapped you will start weaving left to right . tack or over under weave the cord to the side rail and pull enough cord to reach the other side and start weaving, pull it taught, but not tight, hook the nail underneath and then pull the cord back on the other side, that is the first weave.

start weaving.PNG

Use your fingers to pull the strands towards the front rail to keep things tight. Wrap the cord on the next hook on the left side, and start weaving to the other side.

pull pattern.PNG

Note, you will start opposite where you stated the time before. Continue to do this until you have done the hole chair. Depending how many nails there are, you will often have to double up on the nails so that you don’t run out by the time you get to the end. You will want to make sure everything is taught but not to tight.

weaving 2.PNG

When you get to the end, it will get more difficult. Make sure you do not get the strands tangled or twisted. you need keep pulling the weave pattern to the from to keep it tight, the last strand or two will be tight and you may need to use a wood wedge to make some more space.

last few rows.PNG

When you get your last pair in place, hook the tail of the paper cord on the last nail and either do the over under weave on a few nails or use a tack hammer and upholstery tacks to tack the cord in place. If you do this, you should use 2 or 3 tacks. Once you have it secured in place, you will need to cut off the cord. now that you are finished weaving, you will need to adjust the pattern of the seat. While you were weaving, you were pulling everything towards your body to make room, now we have to space out the patter to fill up the extra space we made.

fix the pattern.PNG

Now you are done! you will want to inspect the chair to see if there are any mistakes that you can fix.

20200306_123229.jpg

here is what the final chair looks like. let me know what you think. you can follow me on Instagram and feel free to subscribe on my YouTube channel for more videos

Subscribe►► https://www.youtube.com/channel/UCmMc...

https://www.instagram.com/minerva_enterprises/

Refinishing a Broyhill Brasilia Dresser

I came across this dresser at an auction a few months ago, it's been sitting around in my studio collecting dust and storing my t-shirts haha…available here. I recently finished up some other projects and decided it was time to finish(refinish) this bad boy. It's a stunning gentleman's dresser from the Broyhill Brasilia line of furniture, circa the 1960’s. It was in pretty good shape aside from a few light scratches, chipping finish and loose veneer.

BEFORE

BEFORE

AFTER

AFTER

I ended up refinishing all 4 sides (front, Top, and two sides). I did not have to do the drawers of the cabinet doors. I did however repair a veneer chip on one drawer.

Here is the veneer repair I did on the drawer. You need to find some matching veneer, nothing will ever match perfectly but get as close as you can, color and grain wise, it's better to go lighter to be safe. Use a piece of tape to get the shape of the repair piece needed, if the chip is an odd shape, you can cut the veneer to an easier shape, I recommend not doing squares, angles will help disguise the repair.

IMG_20191001_201741_753.jpg
20191001_161523(1).jpg

I sanded off the finish on the drawer front, it came off easily, I used 180 grit then 220, be careful not to go through the veneer. I then used general finish antique walnut gel stain on the veneer which will help blend the wood together and it matches the rest of the dresser. Once dried, I used a spray lacquer and applied several coats.

This is what the drawer looks like now!

The next repair i did was repairing the separating veneer. If you look closely at the picture to the right, you can see how the veneer layer is separating from the rest of the dresser. The fix for this is simple: I started with a needle I got from a nurse, you can get these at your local woodworking store or order online here.

Brasilia Needle.JPG

Put some glue in the syringe and insert the needle under the veneer. Once you out enough glue in, you want to clamp the veneer to the rest of the dresser. Don't for get to clean up the glue squeeze out!

20191007_173647.jpg

Here is the veneer clamped up

card scraper.JPG

On the top, sides and face, I used a combination of a card scraper, curved card scraper and sand paper to remove the finish, it came off fairly easy with the card scraper and for the tougher parts I used 180 grit sand paper on my random orbital sander. Once I had all the finish removed, I cleaned the wood with my air hose and used the same walnut stain to match the drawers. The General Finishes Antique Walnut gel stain is the best stain that many people recommend to match the factory Broyhill Brasilia color.


I applied the stain using a foam brush, once the surface was completely covered, going with the grain, I wiped it off with a paper shop towel. On these older mid century pieces, often times they will use a thin veneer on the large faces and then use a stained light wood, beech, oak ect for the solid pieces like between the drawers and the base/legs. For those pieces, I left the stain on those prices a little longer before I wiped them off to dry.


20191008_143031.jpg

The brass pulled needed some work. While the stain was drying and i had the drawers out of the dresser, I removed the brass pulls and took them to the wire wheel and brushed off the lacquer and other gunk that was on them, once the color was uniform, I replied some lacquer to preserve the color and help prevent future tarnish. when you are working with brass, be careful how you polish these, if there is lacquer on them, it needs to be removed before you use any sort of Brasso or other polish.

Once all the repairs were made, stain was dry, I used Minwax lacquer stray semi gloss and applied about 5 coats to the piece. after the first 2 coats (applied within 15 mins) i waited over night before i put the rest of the coats on. I knocked the lacquer back with 4/0 steel wool in between dried coats. I then let the final coats cure for about 48 hours. i then put the drawer pulls back on and put the drawers and doors back on the dresser.

I'm super happy how this thing turned out!!

This is a Rare Broyhill Brasilia Dresser and is currently available on the shop tab. If this is the piece you have been looking for, feel free to reach out and get a shipping quote!


processed_20191203_145618.jpg

Inlay a Bowtie into a Slab

Wood moves, there are charts and formulas out there to figure out how much it will move, but I don’t have time for that. This oak cookie slab has been drying for 5 years and developed a huge crack, it keeps getting bigger.  You can see here I previously inlayed a walnut bowtie joint (sometimes called a butterfly or dutchman joint). 

It seems that the bowtie was not big enough, both its height and the angles of the wings. So I fixed it. I started with a piece of walnut (8/4 planed to 1 and ¾ inch) because that’s what I have laying around (and I like it).

Bowtie+gaps.jpg

Step 1:  I cut the piece to 5 inches and determined the angle I wanted.

Step 2: Set up the table saw for that angle.  I used a 13 degree angle.

Step 3: Cut the bowtie out on the table saw, leaving a little so that the piece doesn’t fall out and I have a flat edge to do both sides to keep it square on the fence.

Tablesaw+bowtie.jpg

Step 4: Finish the cut on the band saw.

Step 5: Clean up the cut with a chisel.

clean+up+with+chisel.jpg

Step 6: Next I put the bowtie where I want it and trace it out, I used a marking knife I got from amazon: heres the link: https://amzn.to/2oGnIXZ

Step 7: Once I marked it, I used painters tape to outline the marks so that I can see it better and not cut past the tapes edge

Painters Tape.png

Step 8: Next I set up my trim router with a ¼ spiral bit and started routing out the bulk of the wood inside the painters tape.  I used an older Ryobi Trim router: here is the newest version on amazon: https://amzn.to/2oCxbzy

trim router waste.png

I had to make several passes to get down 1/ ¾ of an inch.

Step 9: After I removed the bulk of the wood, I used a chisel and wood mallet to remove the rest of the wood up to the line. 

Chisel out waste.png

***Its important to have sharp chisels, be sure to check out my upcoming video to see a real simple and cheap way to sharpen you chisels using the “scary sharp” sharpening method which uses wet/dry sand paper!!***

Be sure to take small  bites of the wood and sneak up on the line so that you don’t get carried a way and mess up the lines and remove to much wood.

Step 10: Check the fit of the bowtie often so that you know how close you are getting.

Once you remove the material up to the line and make any final trimmings, do a test fit. If it fits, great, if not, figure out where your getting stuck and remove that material.

Step 11: Next is the glue?  Put it in the joint and on the bowtie(only the parts that will be in the wood)

Glue Dutchman.png

Step 12: Use a wood mallet and a piece of scrap wood to tap the bowtie in place.

Tap in dutchman.png

Step 13:If you have a little sticking up like I did, you can use a small planer or a large chisel to remove that material so that it is flush. Then sand it smooth, I went form 120, 180, 220 grit sand paper.

Sand Dutchman.png

Step 14: Then apply you finish, I did multiple coats of Danish oil, using 0000 steel wool to smooth out between coats, you can also use a different finish If you have a preference.

Oil Dutchman.png

Et Voila (I took French in high school)

Here is the new and improved Live Edge Oak Cookie Ccoffee Table with a Walnut Bowtie (talk about trying to hit all the SEO keywords haha)

DIY Beard Comb

Check out this quick Beard Comb I made when i needed a break from building in the shop. its made from Scrap walnut but could be made from any type of wood you have. hope you enjoy!

Does your beard get messy? make a comb, its easy. check out how i made a Beard Comb from some scrap walnut wood i had laying around.

Floating Shelf Made From Scrap Metal And Reclaimed Wood

Here is my first attempt at creating a tutorial in the form of a blog post.  I will outline all the steps I used to create this floating shelf and if you want to watch how I did it, the video is embedded below.  I hope you enjoy.  Feel free to leave a comment on here or on the YouTube video, I would love to hear what you think.

Old office.JPG

I recently moved into a new studio and have been constantly changing around the space.  I think I have got it to a place where I like it.  I have an office area set up and an MCM couch with a cookie coffee table I made to help me relax and give me a space to think and design. 

IMG_5090.JPG

In order to get more organized, I realized I need a shelf.  So, I took a look around and found some wood, about 7 feet long, 9 inches wide that I got from the side of the road a few months ago.  It was a broken pine bed frame; I got some good pieces of wood from it and this was the last one.  I also had some scrap metal, 1 in flat stock about 6 feet long and some 3/8 round stock.

Anytime I need to make something for myself, I use that opportunity to try some new techniques. I decided on a floating shelf.  The metal would be mounted to the wall and I would drill holes in the shelf that would be able slide on to the bracket. 

Materials Used

Pine Board (Milled to 6 ft by 8 in x 1 ¼ in high)

1 inch by ¼ flat stock steel, 6 feet long

3/8 by 3 feet round stock steel

Tools Used: (you can click on some of these tools if you are interested in buying on amazon)

Step 1: Find and mark studs

After deciding where to put the shelf, I had to mark where the studs are. I’m using a stud finder to find the metal stud.

Studs.png
Level.png

Step 2: Mark your level line where you want the shelf

Now that I’ve found the studs, I draw a level line where the shelf will go so that I can later drill the holes for the anchors


Pilot.png

 Step 3: drill pilot hole

Using a 1/8 in drill bit, drill the pilot holes.  Im doing this to ensure that I am on the metal stud and it will help when I drill with a larger drill bit.


HOles.jpg

Step 4: Drill holes for anchors

Using a ½ inch drill bit, drill the holes for the anchors.  I used Toggler heavy duty ¼ toggle bolts that use a ½ hole.


install anchors.png

Step 5: Install anchors  

Insert the toggle bolts into the hole you drilled and then slide the one end to the wall to tighten against the drywall. Snap off the remainder of the plastic.


Step 6: Gather Materials

This is when I got all the materials together. I guess if you were to do this project, you would want to get all the materials together before you start. I had all the materials and had a plan for what I was going to do but this is the order I did it in the video.

Joint.jpg

Step 7: Joint one edge

Because I was using reclaimed wood, I needed to mill it to the correct size.  If you are using wood purchased at a home store you can mill it in order to get it to the size you need. 


Cut to size.jpg

Step 8: Cut to width

The shelf will be 8 inches deep so I need to cut off about 1 inch. 

Face Joint.jpg

Step 9: Face Joint one face

This step is used in the process of squaring up the wood using the straight edge we already created. Do as many passes as it takes to get the face flat.


Plane.jpg

Step 10: Plane to thickness

The board was about 1 ½ inches thick, I needed to plane it to get it to 1 ¼ so that it was square and that I had 1/8 on the top and bottom to hide the bracket once installed

cut to length.jpg

Step 11: Cut to length:

Using a Miter saw, I squared up both ends and cut the board to exactly 6 feet.

Step 12: Route a 1 inch groove in back of shelf where the metal bracket will be hidden

In order for the shelf to look like its floating, ideally you don’t want to see how the shelf is mounted to the wall.  With this in mind, I decided to route a groove in the shelf so that the bracket would be hidden from the top and bottom. Based on the size of the square stock I had, I had to do this using several techniques.  First I removed the center material using a mortising guide attachment for my router, this removed the center ¾ inch, then to fit the rest, I had to remove 1/8 from each side, so I used the same ¾ in bi and an edge guide. Take a look a the picture for an up close of the 1/8 lip that was left to hide the bracket.

Step 13: Cut metal to length

I used a metal cutting band saw to cut the metal but you can use a hack saw or reciprocating saw if you don’t have one.

Cut to length steel.jpg
Step 14 mark.png

Step 14: Measure and mark for anchor holes

Measure out where the holes for the anchors will be drilled. My studs were 16 inches on center, with the steel in the groove, I measured 16 inches from the end of the shelf and marked it, then 16 more until i marked all the holes.

drill.png

Step 15: Drill anchor holes

You will need to drill holes int he metal bracket so you can mount it to the wall. I used a metal drilling stepped drill bit. It makes it easier to drill through metal.

mark 2.png

Step 16: Mark back of shelf to countersink where anchor heads

After your holes are drilled, place the steel back in the groove and make where the holes are. this way, you can mark where the bolts for the anchors will be so you can countersink them later.

Mark 3.png

Step 17: Mark where round supports will be welded

While the steel is still in the groove, space out where you want to put the steel rods. I spaced them out evenly making sure they didn’t overlap where the holes for the anchors were.

transfer.png

Step 18: Transfer marks to shelf

Using a square, transfer your marks to from the steel to the shelf so you can line them up later and know where you will need to drill the holes in the next step


Step 19: drill holes for metal rods

Next you will need to drill holes that the metal rods will slide into. the hole needs to be about 7 inches deep. Don’t go more than this so that you don’t drill through what will be the face of the shelf. I do not have a drill press so I did this first with the plunge router and a spiral bit to keep the hole plumb. After I plunged about 2 inches deep, I switched to a battery drill with a 3/8 drill bit. I used the one I had which was too short so I had to go back later and do it with a longer one. If you have the longer drill skip using the shorter bit. 

**make sure you get all the saw dust out of the hole so that you dont run into problems later.**

drill long 38.png

Step 20: Drill countersink holes for anchors

Using a 1/2 inch drill bit, countersink about 1/4 inch on the marks we marked in step 16.

cut round stock.png

Step 21: Measure and cut round stock

Measure out and mark every 7 inches to get 5 pieces of round stock.

Step 22: Weld round stock to shelf bracket

Using a Mig welder, weld the 5 rods onto marks you made on the flat stock you are using as the mounting bracket.

Step 22.JPG

**If you do not have a welder or do not know how to weld, you can use different methods to get the same effect. For example; you can use 7 inch bolts or 3/8 threaded rod and drill holes and use nuts to secure them to the mounting bracket. If you do this, you will have to drill more countersinks in both the wall and the shelf so that the shelf slides on to the bracket.**

clean welds.png

Step 23: clean up welds

Using an angle grinder and a 40 grit sanding disc, I cleaned up the welds.

Step 24: Apply Stain to shelf

I decided to stain the shelf an antique walnut. I used a gel stain by general finishes. Wipe on the stain and then after a few minutes, wipe off the excess.

stain.png
step 25.JPG

Step 25: Add clear coat

After about 15 minutes you can apply a clear coat. I did three coats of Minwax spray lacquer.

mount.png

Step 26: Mount the shelf bracket

Using the bolts for the anchors, bolt on the bracket to the wall. I used a battery drill with a phillips bit.

Step 27: Slide shelf onto bracket

Once the bracket is installed you are ready for the shelf to get installed. Line up the rods with the pre-drilled holes and slide the shelf back to the wall. If this doesn’t go on easy, you can use the heel of your hand or rubber mallet and a piece of wood to hit it on. If you have a real difficult time, there might be an issue like saw dust in the hole, double check everything.

step 27 slide board on to bracket.JPG

Step 28: Put all your stuff on it

I used this shelf to put some woodworking books and some other things I made like my MADE BY M.E. sign and some bowls. Enjoy your shelf.

Step 28 put your stuff on it.JPG